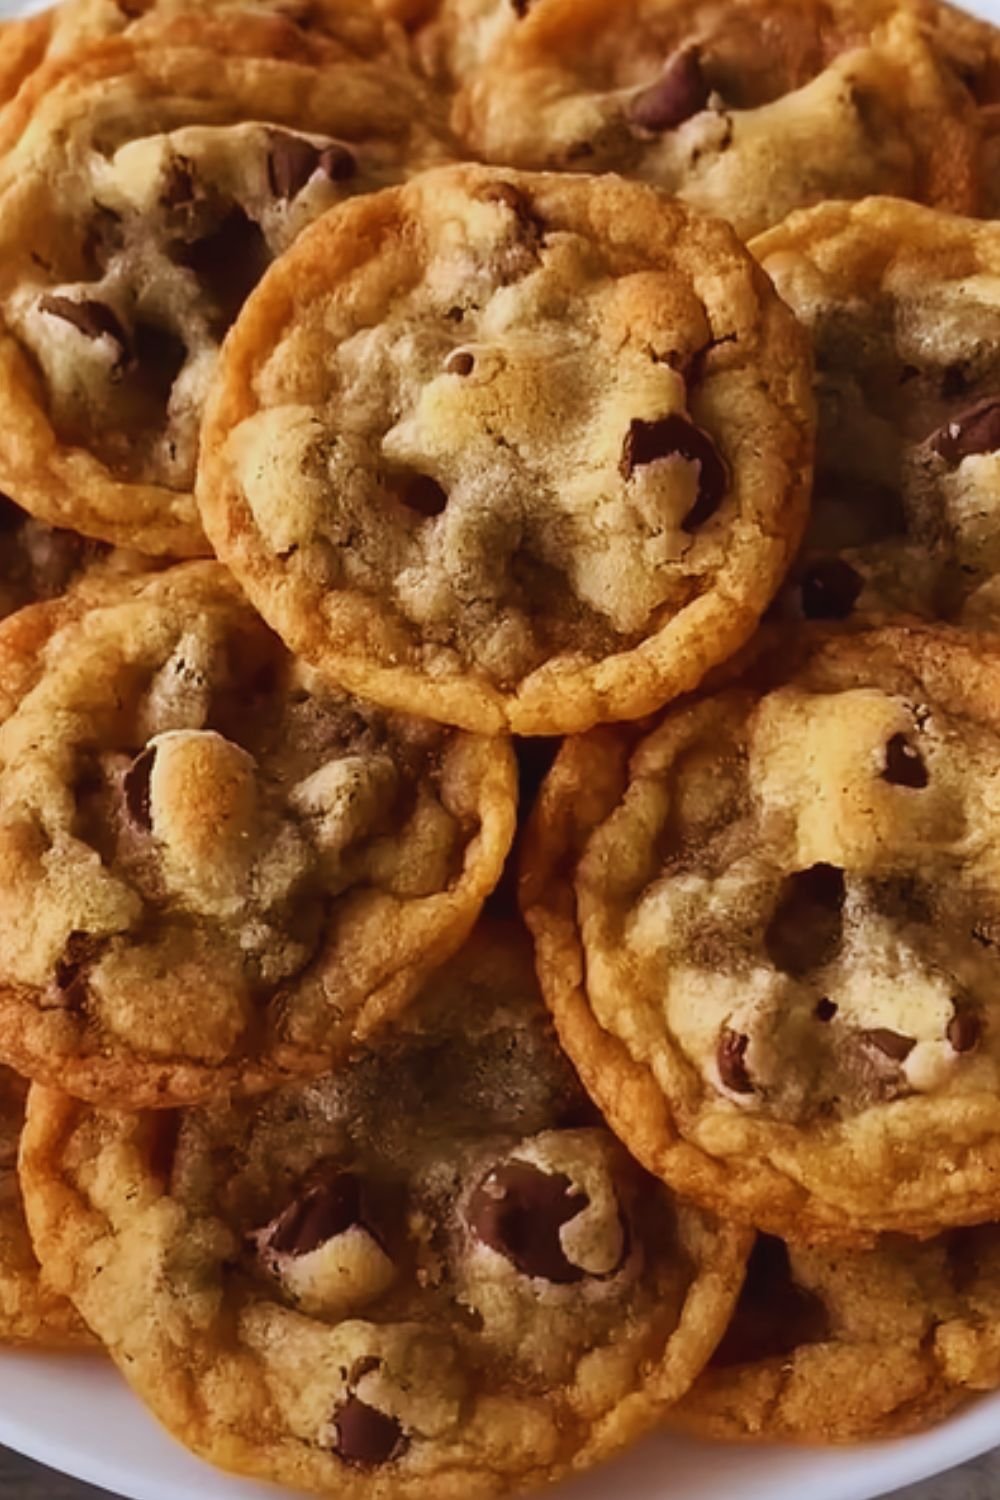
There’s something magical about biting into a perfectly baked chocolate chunk cookie – that moment when the crispy exterior gives way to a chewy center studded with melty chocolate pieces. I’ve spent years perfecting this recipe, and today I’m sharing all my secrets for creating these indulgent treats that never fail to bring smiles to faces.
Why Chunks Instead of Chips?
Before we dive into the recipe, let me explain why I specifically use chocolate chunks rather than traditional chips. While chocolate chips are specifically designed to hold their shape during baking, chunks of high-quality chocolate melt into gorgeous pools throughout the cookie, creating layers of texture and intense chocolate flavor in every bite.

The Science Behind Perfect Cookies
The magic of a great chocolate chunk cookie lies in understanding the role of each ingredient:
- Brown Sugar: I use a higher ratio of brown to white sugar in my recipe. The molasses in brown sugar not only adds caramel notes but also creates that chewy texture we all love. The hygroscopic nature of molasses helps retain moisture in the cookies.
- Cold Butter: While many recipes call for room temperature butter, I’ve found that starting with cold butter and creaming it longer creates a better structure. This technique leads to cookies that spread just right during baking.
- Special Flour Blend: My recipe combines bread flour and all-purpose flour. The higher protein content in bread flour develops more gluten, resulting in chewier cookies with a more satisfying bite.
Essential Equipment
| Tool | Purpose | My Recommendation |
|---|---|---|
| Stand Mixer | Proper creaming of butter and sugar | Heavy-duty with 5qt capacity |
| Baking Sheets | Even heat distribution | Aluminum, light-colored |
| Parchment Paper | Prevents sticking, easy cleanup | Unbleached, pre-cut sheets |
| Cookie Scoop | Consistent sizing | 3-tablespoon capacity |
| Cooling Rack | Proper cooling | Stainless steel, grid pattern |
The Perfect Cookie Recipe
Ingredients
For 24 large cookies:
- 2 cups bread flour (280g)
- 1 cup all-purpose flour (140g)
- 1½ teaspoons baking soda
- 1 teaspoon fine sea salt
- 1¼ cups cold unsalted butter (285g)
- 1½ cups dark brown sugar (300g)
- ½ cup granulated sugar (100g)
- 2 large eggs, cold
- 2 teaspoons vanilla extract
- 1 pound high-quality dark chocolate, chopped into chunks
- Flaky sea salt for finishing
The Method
- Preparation Phase:
- Whisk together the flours, baking soda, and salt in a medium bowl
- Chop the chocolate into various sized chunks (ranging from ¼ to ½ inch)
- Line baking sheets with parchment paper
- Position oven racks in the upper and lower thirds of the oven
- Mixing Process:
- Cream cold butter for 3 minutes until smooth
- Add both sugars and beat for 5 full minutes (This is crucial!)
- Add eggs one at a time, beating for 30 seconds each
- Mix in vanilla extract
- Gradually add dry ingredients on low speed
- Fold in chocolate chunks by hand
- Shaping and Resting:
- Scoop 3-tablespoon portions
- Place on prepared baking sheets
- Refrigerate for minimum 2 hours or up to 48 hours
- Baking Process:
- Preheat oven to 375°F (190°C)
- Arrange chilled dough balls 3 inches apart
- Sprinkle with flaky sea salt
- Bake 12-14 minutes, rotating pans halfway
- Look for golden brown edges with slightly pale centers

Troubleshooting Guide
| Issue | Possible Cause | Solution |
|---|---|---|
| Flat Cookies | Warm butter or dough | Chill dough thoroughly |
| Too Crispy | Overbaking | Remove when centers are still soft |
| Dense Texture | Overmixing flour | Mix just until combined |
| Uneven Baking | Hot spots in oven | Rotate pans, use oven thermometer |
Storage and Make-Ahead Tips
These cookies stay fresh in an airtight container at room temperature for up to 5 days. For longer storage, I freeze the baked cookies for up to 3 months. The unbaked dough balls can be frozen for up to 6 months – I actually prefer baking them straight from frozen, adding 1-2 minutes to the baking time.
Variations to Try
- Brown Butter Version: Replace regular butter with browned butter (chill until solid before using)
- Nut Lover’s: Add 1 cup of toasted chopped nuts
- Double Chocolate: Replace ½ cup flour with cocoa powder
- Espresso Enhanced: Add 2 teaspoons espresso powder to dry ingredients
Serving Suggestions
- Pair with cold milk (regular or plant-based)
- Serve warm with vanilla ice cream
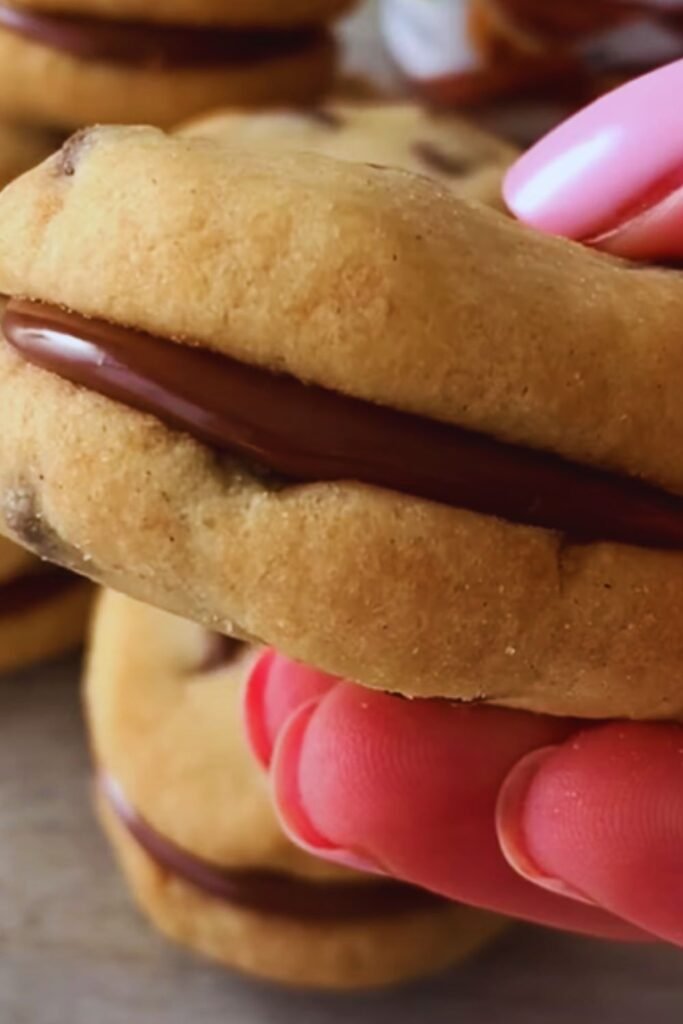
- Create ice cream sandwiches
- Package in decorative boxes for gifting
Common Questions
Q: Can I use chocolate chips instead of chunks?
While you can, the texture and chocolate distribution won’t be the same. Chunks create those desirable melty pockets throughout the cookie.
Q: Why chill the dough?
Chilling allows the flour to hydrate fully and the flavors to develop. It also prevents excessive spreading during baking.
Q: Can I make smaller cookies?
Yes! Use a 1.5-tablespoon scoop and reduce baking time to 9-11 minutes.
Q: How do I know when they’re done?
The edges should be lightly golden brown, but the centers should look slightly underbaked. They’ll continue cooking on the hot baking sheet.
Q: Can I use salted butter?
Yes, but reduce the added salt in the recipe by ½ teaspoon.
Pro Tips for Cookie Success
- Temperature Matters:
- Keep ingredients cold until needed
- Use an oven thermometer for accuracy
- Let baking sheets cool completely between batches
- Measuring Technique:
- Use the spoon-and-sweep method for flour
- Pack brown sugar firmly in measuring cup
- Weight measurements are most accurate
- Chocolate Selection:
- Choose chocolate with 60-70% cocoa content
- Avoid chocolate with high wax content
- Include some finely chopped chocolate for better distribution
The Secret to Bakery-Style Appearance
For that professional bakery look, reserve some chocolate chunks to press into the tops of the cookie dough balls just before baking. This ensures visible chocolate on top and creates that appetizing appearance we associate with professional bakeries.
Final Notes
Remember that every oven is different, so your first batch is always a test batch. Watch them carefully and adjust timing as needed. The perfect chocolate chunk cookie is a personal preference – some like them crispier, others chewier. Feel free to adjust the baking time by a minute or two to achieve your ideal texture.
These cookies have become my signature recipe, requested at every gathering and gifted during holidays. With these detailed instructions and tips, I’m confident you’ll master them too. Happy baking!