There’s something magical about the aroma of a chicken roasting in the oven that takes me back to my grandmother’s kitchen. After years of perfecting this classic dish, I’m excited to share my foolproof method for creating the most tender and juicy roasted chicken you’ll ever taste. Whether you’re cooking for a special occasion or a cozy Sunday dinner, this guide will help you master the art of roasting chicken.
Essential Ingredients
| Ingredient | Amount | Notes |
|---|---|---|
| Whole chicken | 4-5 pounds | Room temperature |
| Butter | 4 tablespoons | Softened |
| Garlic | 1 whole head | Cut horizontally |
| Fresh herbs | 1 bunch | Thyme, rosemary, sage |
| Lemon | 1 large | Cut in quarters |
| Kosher salt | 2 tablespoons | |
| Black pepper | 1 tablespoon | Freshly ground |
| Olive oil | 2 tablespoons | Extra virgin |
| Onion | 1 medium | Quartered |
| Carrots | 2 large | Roughly chopped |
| Celery | 2 stalks | Roughly chopped |
Kitchen Equipment Needed
| Equipment | Purpose |
|---|---|
| Roasting pan | Main cooking vessel |
| Kitchen twine | For trussing |
| Meat thermometer | Temperature monitoring |
| Paper towels | Pat dry chicken |
| Basting brush | Apply butter mixture |
| Sharp knife | Preparation |
| Cutting board | Preparation |
The Science Behind Perfect Roasting
Understanding the science of roasting helps achieve better results. Here are the key principles I’ve learned:
- Temperature Gradient
- Starting with a room-temperature bird ensures even cooking
- The heat gradually penetrates from outside to inside
- Different parts cook at different rates
- Moisture Control
- Pat-dry skin promotes browning
- Butter under skin maintains moisture
- Steam from vegetables adds humidity
- Heat Distribution
- Hot air circulation creates even cooking
- Position in oven affects browning
- Proper trussing maintains shape
Step-by-Step Preparation Method
1. Initial Preparation
- Remove chicken from refrigerator 1 hour before cooking
- Thoroughly pat dry inside and out with paper towels
- Remove giblets and save for gravy if desired
2. Seasoning (45 minutes before roasting)
- Generously salt inside cavity
- Combine softened butter with minced herbs
- Carefully separate skin from meat without tearing
- Spread herb butter mixture under skin
- Season exterior with salt and pepper
3. Cavity Filling
- Insert lemon quarters
- Add garlic head halves
- Include herb sprigs
- Place onion quarters
4. Trussing Technique
- Cross legs at ankles
- Tie with kitchen twine
- Tuck wing tips under
- Ensure even shape
5. Vegetable Bed Preparation
- Layer carrots, celery, onions in pan
- Drizzle with olive oil
- Season with salt and pepper
- Create stable base for chicken
The Roasting Process
| Stage | Temperature | Time | Internal Temperature |
|---|---|---|---|
| Initial | 450°F | 20 minutes | N/A |
| Main roasting | 375°F | 60-75 minutes | 155°F |
| Resting | None | 15-20 minutes | 165°F |
Critical Temperature Points
- Breast: 165°F
- Thighs: 170-175°F
- Never below 165°F for food safety
Troubleshooting Common Issues
Dry Meat Solutions
- Brine before roasting
- Maintain proper temperature
- Don’t overcook
- Rest properly
Uneven Cooking Fixes
- Truss properly
- Use room temperature chicken
- Position correctly in oven
- Rotate pan if needed
Skin Issues
- Pat completely dry
- Air-dry in refrigerator
- Baste carefully
- Watch oven temperature
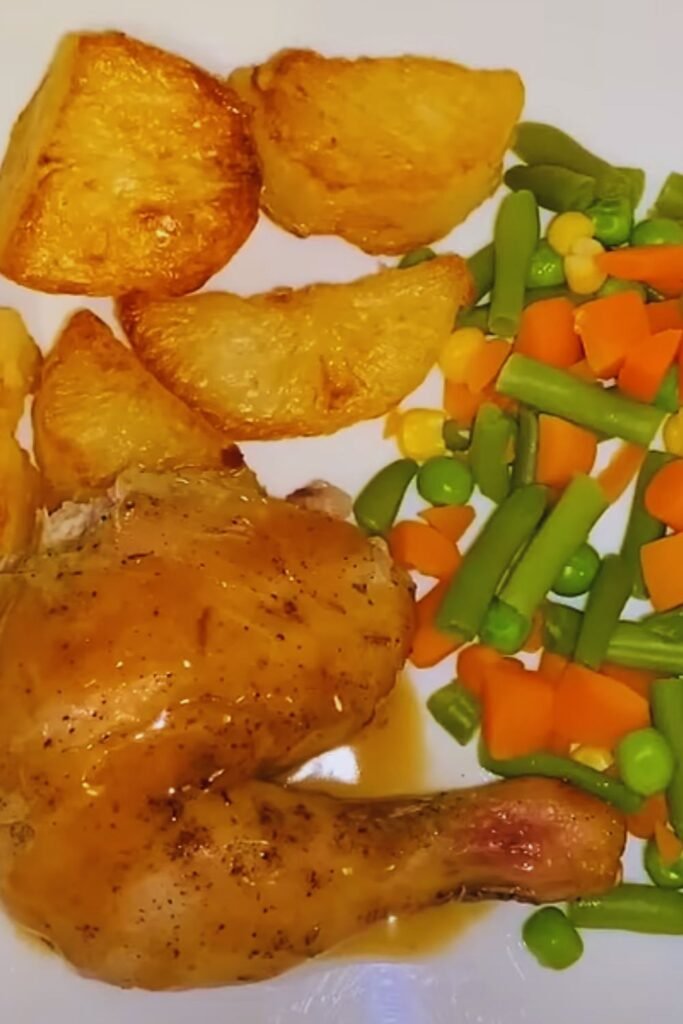
Serving Suggestions
- Fresh herb garnish
- Roasted vegetable medley
- Homemade gravy
- Crusty artisan bread
- Crisp green salad
- Roasted potatoes
Storage and Leftovers
| Storage Method | Temperature | Duration |
|---|---|---|
| Refrigerator | 40°F or below | 3-4 days |
| Freezer | 0°F or below | 4 months |
| Room temperature | Not recommended | 2 hours max |
Creative Leftover Ideas
- Classic Chicken Salad
- Dice meat
- Add mayo, celery, herbs
- Serve on croissants
- Chicken Soup
- Use carcass for stock
- Add fresh vegetables
- Include noodles or rice
- Chicken Pot Pie
- Combine with vegetables
- Add cream sauce
- Top with pastry
Questions and Answers
Q: Why is my chicken skin not crispy?
The key to crispy skin is ensuring the chicken is completely dry before roasting and starting with a high temperature. Pat the chicken dry with paper towels and air-dry in the refrigerator for 1-2 hours before roasting.
Q: How do I prevent the breast meat from drying out?
Place butter under the skin and start roasting breast-side down for the first 20 minutes. This helps protect the breast meat and allows juices to flow downward.
Q: Should I baste the chicken while it cooks?
While basting adds flavor, opening the oven frequently can extend cooking time and create temperature fluctuations. I recommend basting only 2-3 times during cooking.
Q: Can I stuff the cavity with dressing?
For food safety, I recommend cooking stuffing separately. The cavity should reach 165°F, which often leads to overcooked meat when stuffed.
Q: How long should I let the chicken rest?
Allow 15-20 minutes of resting time. This lets the juices redistribute throughout the meat, ensuring moistness in every bite.
Pro Tips from My Kitchen
- Quality Matters
- Choose organic when possible
- Fresh is better than frozen
- Size affects cooking time
- Preparation Details
- Remove chicken neck
- Check cavity for extras
- Clean thoroughly
- Timing Considerations
- Plan ahead for room temperature
- Don’t rush the process
- Use multiple timers
- Equipment Care
- Preheat roasting pan
- Clean thoroughly after use
- Maintain thermometer accuracy
Remember, creating the perfect roasted chicken is a journey of practice and patience. Each time you make it, you’ll discover new nuances and develop your own special touches. The key is understanding the fundamentals while being willing to adjust based on your specific circumstances and preferences.