There’s something magical about the combination of crispy-tender green beans and golden roasted garlic. As someone who has spent countless hours perfecting vegetable side dishes, I can confidently say that this recipe for roasted garlic green beans has become my go-to choice for both weeknight dinners and special occasions. The beauty lies in its simplicity – just a handful of ingredients transforms ordinary green beans into an extraordinary dish that’ll have everyone reaching for seconds.
Why You’ll Love This Recipe
When I first started experimenting with roasted vegetables, I discovered that high-heat roasting creates flavors and textures that are impossible to achieve through other cooking methods. The green beans become slightly crispy on the outside while maintaining a perfect tender-crisp interior, and the garlic transforms into sweet, mellow morsels of flavor that perfectly complement the beans.
Key Benefits
- Ready in just 25 minutes
- Uses simple, wholesome ingredients
- Perfect for meal prep
- Naturally vegan and gluten-free
- Rich in vitamins A, C, and K
- High in dietary fiber
- Low in calories but high in satisfaction
Ingredients
For 4-6 servings:
| Ingredient | Amount | Notes |
|---|---|---|
| Fresh green beans | 1½ pounds | Look for bright, crisp beans without blemishes |
| Fresh garlic cloves | 8-10 cloves | About one full head |
| Extra virgin olive oil | 3 tablespoons | High-quality oil makes a difference |
| Sea salt | 1 teaspoon | Adjust to taste |
| Fresh ground black pepper | ½ teaspoon | Adjust to taste |
| Red pepper flakes | ¼ teaspoon | Optional, for heat |
| Fresh lemon | 1 medium | For serving |
Essential Equipment
| Equipment | Purpose |
|---|---|
| Large rimmed baking sheet | Ensures beans can be spread in a single layer |
| Parchment paper or silicone mat | Prevents sticking and makes cleanup easier |
| Large mixing bowl | For tossing beans with oil and seasonings |
| Sharp knife | For trimming beans and slicing garlic |
| Microplane or garlic press | Optional, for mincing extra garlic if desired |
Step-by-Step Instructions
Preparation (10 minutes)
- Preheat your oven to 425°F (220°C). Position the rack in the middle of the oven.
- Wash the green beans thoroughly and pat them completely dry. Any excess moisture will steam rather than roast the beans.
- Trim the stem ends of the beans. I like to leave the pointed tips for presentation.
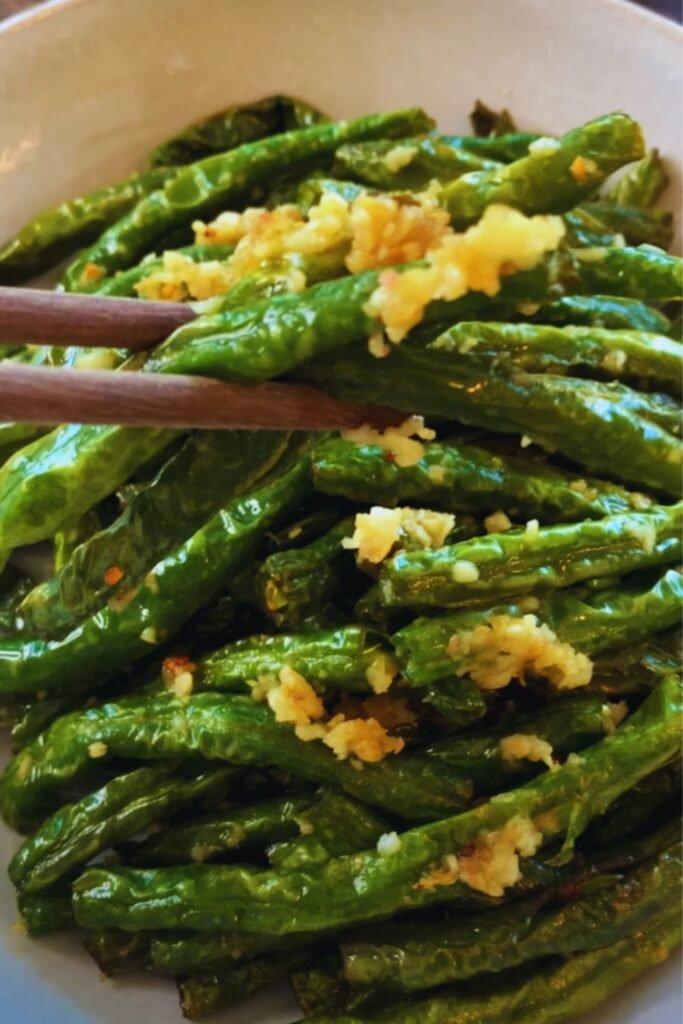
- Peel and slice the garlic cloves lengthwise into 3-4 slices each.
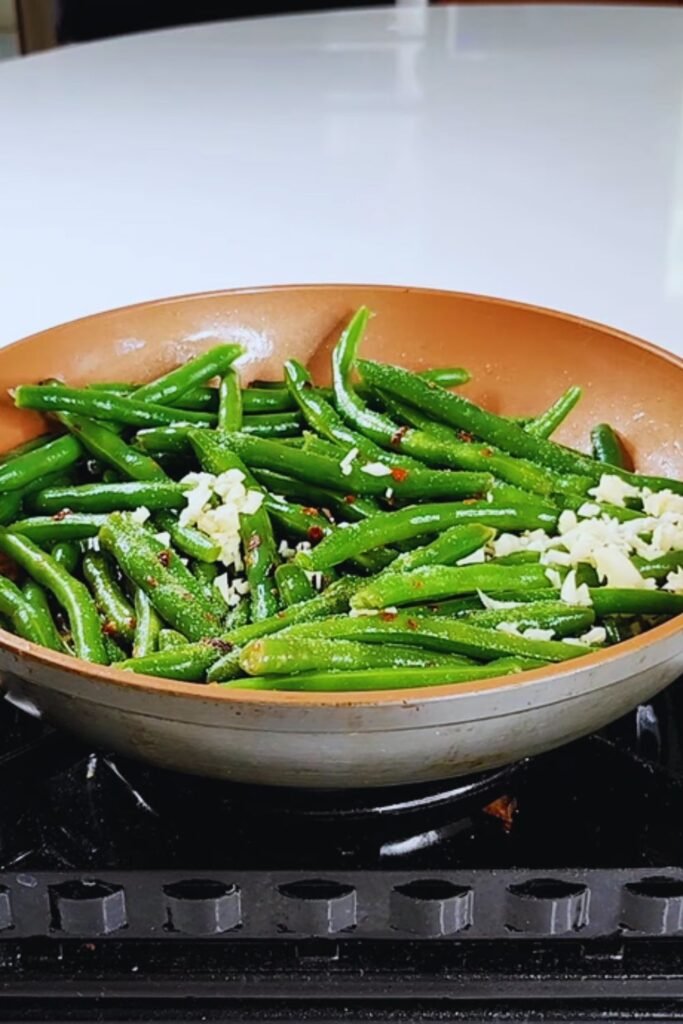
Roasting Process (15 minutes)
- In a large mixing bowl, combine:
- Prepared green beans
- Sliced garlic
- Olive oil
- Salt
- Black pepper
- Red pepper flakes (if using)
- Toss everything together until the beans and garlic are evenly coated with oil and seasonings.
- Spread the mixture on your prepared baking sheet in a single layer. This is crucial for achieving the perfect roast – overcrowding will lead to steaming instead of roasting.
- Place in the preheated oven and roast for 15-20 minutes, depending on your preferred level of doneness. I recommend:
- 15 minutes for crisp-tender beans with some bite
- 18 minutes for more tender beans
- 20 minutes for extra crispy spots (my personal favorite)
- Halfway through roasting, remove the pan and give everything a good shake or stir to ensure even cooking.
Finishing Touches
Once the beans are done to your liking, finish the dish with:
- A squeeze of fresh lemon juice
- An extra drizzle of high-quality olive oil
- Additional salt and pepper to taste
- Optional fresh herbs like parsley or thyme

Pro Tips from My Kitchen
Through countless times making this dish, I’ve discovered several tricks that make a big difference:
- Temperature Matters
- Always start with room temperature beans for even cooking
- Don’t reduce the oven temperature – high heat is key for proper roasting
- Size Consistency
- Try to select beans of similar size for even cooking
- Cut any exceptionally long beans in half
- Garlic Guidance
- Slice garlic instead of mincing to prevent burning
- If some pieces start browning too quickly, push them under the beans
- Oil Selection
- Use good quality extra virgin olive oil for the best flavor
- Don’t skimp on the oil – it helps with caramelization
Serving Suggestions
I love serving these roasted garlic green beans with:
- Grilled or roasted chicken
- Pan-seared fish
- Quinoa or brown rice
- As part of a vegetarian Buddha bowl
- Alongside roasted potatoes for a complete vegetable medley
Storage and Reheating
While these beans are best served fresh from the oven, they can be stored and reheated:
| Storage Method | Duration | Notes |
|---|---|---|
| Refrigerator | Up to 4 days | Store in airtight container |
| Freezer | Up to 2 months | Quality may decrease |
To reheat:
- Oven (preferred): 350°F for 5-7 minutes
- Microwave: 30-second intervals until heated through
- Skillet: Quick sauté over medium heat
Nutritional Information
Per serving (based on 6 servings):
| Nutrient | Amount |
|---|---|
| Calories | 98 |
| Total Fat | 7g |
| Saturated Fat | 1g |
| Carbohydrates | 9g |
| Fiber | 3.5g |
| Protein | 2g |
| Vitamin C | 12% DV |
| Vitamin K | 20% DV |
| Iron | 6% DV |
Common Questions & Answers
Q: Can I use frozen green beans instead of fresh?
A: While fresh beans are preferred for roasting, you can use frozen beans. Thaw them completely and pat very dry before roasting. The texture won’t be quite the same, but they’ll still be delicious.
Q: Why are my green beans not getting crispy?
A: The most common reasons are overcrowding the pan, not drying the beans thoroughly, or using too low an oven temperature. Make sure to spread them in a single layer and use high heat.
Q: Can I prep this dish ahead of time?
A: Yes! Clean and trim the beans up to 2 days ahead. Store them in a sealed bag with a paper towel to absorb moisture. Wait to add oil and seasonings until just before roasting.
Q: How do I know when the green beans are done?
A: Look for slight charring on the surface, vibrant green color, and easy piercing with a fork. They should be tender but still have a slight crunch.
Q: Can I skip the garlic?
A: Absolutely, though I highly recommend keeping it. You can substitute with shallots or onions for a different but equally delicious flavor profile.
Variations to Try
After mastering the basic recipe, consider these delicious variations:
- Mediterranean Style
- Add halved cherry tomatoes
- Sprinkle with crumbled feta cheese
- Finish with fresh oregano
- Asian Fusion
- Add sesame oil with the olive oil
- Sprinkle with sesame seeds
- Finish with soy sauce instead of lemon
- Nutty Crunch
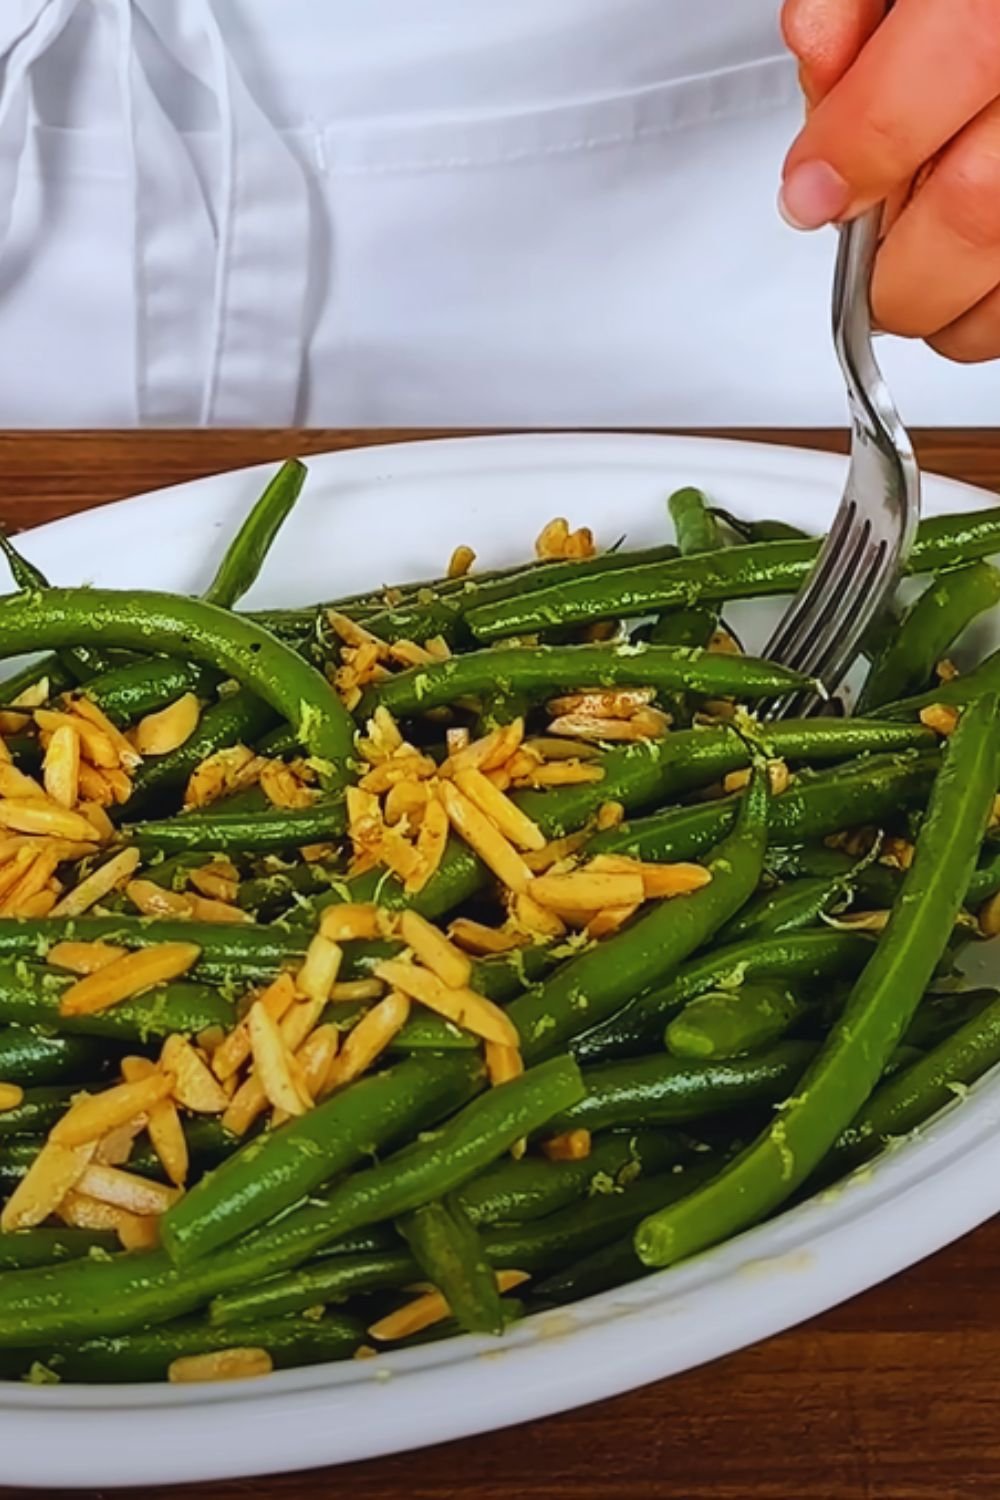
- Add sliced almonds in the last 5 minutes
- Drizzle with brown butter
- Finish with fresh thyme
Remember, cooking is about making the recipe your own. Don’t be afraid to experiment with different seasonings and additions to suit your taste preferences.